
How to prepare guava jelly from scratch
Introduction
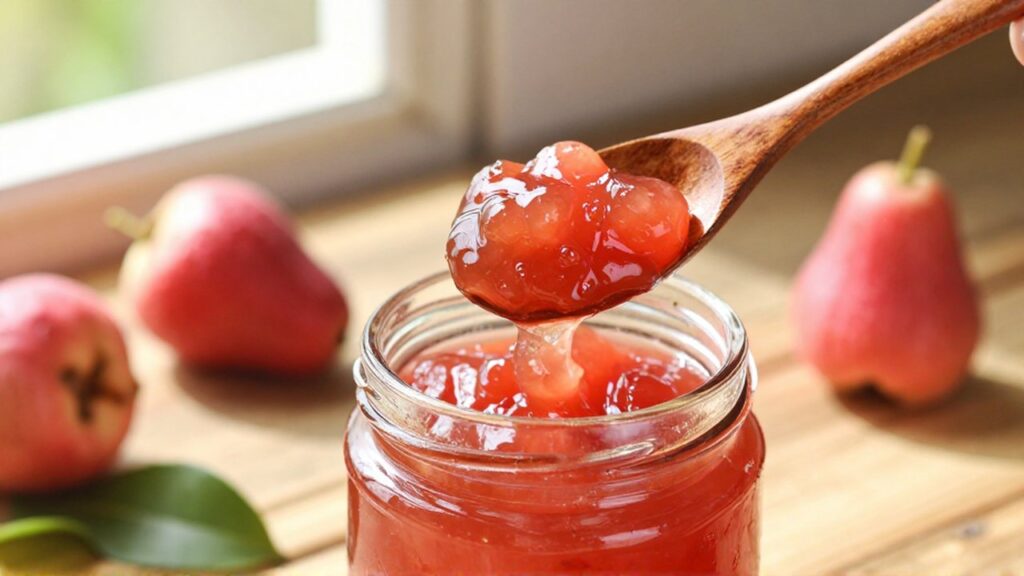
Guava jelly is a vibrant, aromatic spread that captures the tropical essence of the guava fruit in a smooth, translucent form. Unlike jam, which contains pieces of crushed fruit, jelly is made strictly from the strained juice, resulting in a sophisticated texture that is perfect for spreading on toast, filling pastries, or pairing with artisanal cheeses. Making it from scratch allows you to control the sugar content and ensure that no artificial preservatives are added to your homemade treats.
Learning this technique is particularly rewarding when you have an abundance of ripe guavas, as it serves as an excellent way to preserve the seasonal harvest. The process relies on the natural pectin found in the fruit to create a perfect set, transforming a simple pulp into a shimmering, jewel-like preserve. This guide provides a clear, step-by-step method to achieve professional results in your own kitchen, ensuring a delicious outcome every time.
Essential ingredients and equipment

To create a high-quality guava jelly, you need a balance of fruit, sweetness, and acidity. The quality of your ingredients directly impacts the final flavor and the ability of the jelly to set correctly.
- Ripe Guavas: Select fruits that are fragrant and slightly soft to the touch. Ripe guavas contain higher sugar levels and more natural pectin, which are essential for the texture.
- Granulated Sugar: Sugar acts as both a sweetener and a preservative. It also works with the pectin to create the jelly's structure.
- Lemon or Lime Juice: The acidity from citrus is crucial. It helps activate the pectin and balances the intense sweetness of the guava.
- Water: Used initially to help soften the fruit during the extraction process.
For equipment, you will need a heavy-bottomed pot to prevent burning, a fine-mesh strainer or cheesecloth for straining the juice, a large spoon for stirring, and sterilized glass jars for storage.
Step by step preparation process
The transition from whole fruit to clear jelly involves three main phases: extracting the juice, boiling the mixture, and the final straining.
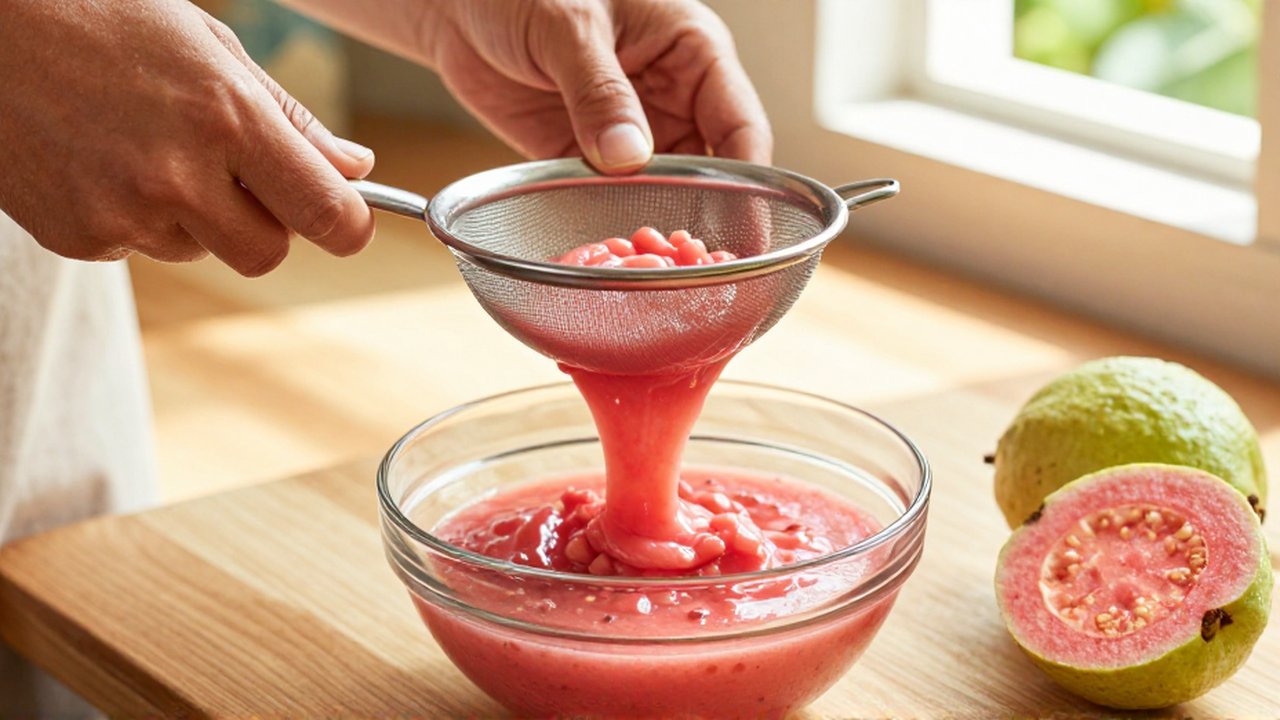
Extracting the fruit juice Begin by washing the guavas thoroughly. You can either peel them or leave the skin on, though peeling can result in a clearer jelly. Chop the fruit into small pieces and place them in a pot with a small amount of water. Simmer the fruit over medium heat until it becomes very soft and mushy. Once softened, press the mixture through a fine-mesh strainer or a cheesecloth into a clean bowl. Do not squeeze the pulp too aggressively if you want a perfectly clear jelly; let gravity do most of the work to avoid pushing seeds and small solids through the mesh.
Boiling and thickening Pour the collected guava juice back into the heavy-bottomed pot. Add the sugar and lemon juice according to your preferred sweetness level. Bring the mixture to a boil, stirring frequently to ensure the sugar dissolves completely. As the mixture boils, it will begin to reduce and thicken. You must maintain a steady boil, but be prepared to lower the heat if it bubbles too vigorously to prevent overflow.
Testing the set To know when the jelly is ready, use the "cold plate test." Place a small spoonful of the hot jelly onto a plate that has been kept in the freezer. Let it sit for a minute, then push it with your finger. If the surface wrinkles, the jelly has reached its setting point. If it is still liquid, continue boiling for a few more minutes and test again.
Bottling and storage Once the desired consistency is reached, pour the hot jelly into your sterilized jars, leaving a small amount of headspace at the top. Seal the jars immediately. Allow them to cool at room temperature before storing them in a cool, dark place or the refrigerator.
Common mistakes to avoid
Achieving the perfect jelly requires attention to detail. Many home cooks encounter issues that can be prevented with a few simple adjustments.
One of the most frequent errors is using underripe fruit. Underripe guavas lack the necessary pectin and sugar, which often results in a runny, syrup-like consistency rather than a firm jelly. Always prioritize fruit that smells strongly of guava.
Another mistake is failing to use a heavy-bottomed pot. Because of the high sugar content, guava jelly can burn very easily at the bottom of the pan. If the sugar burns, the entire batch will take on a bitter, scorched flavor that cannot be fixed. Constant stirring and controlled heat are your best defenses.
Lastly, avoid over-straining or under-straining. If you squeeze the pulp too hard through the cloth, you will introduce cloudiness to your jelly. If you do not strain it enough, you will end up with a textured jam rather than a smooth jelly.
Frequently asked questions
Can I use canned guava juice instead of fresh fruit? While possible, using fresh guavas is highly recommended. Fresh fruit provides the natural pectin required for a reliable set and offers a much deeper, more authentic flavor profile than processed juices.
How long does homemade guava jelly last? When stored in airtight, sterilized jars in the refrigerator, the jelly can last for several months. Once a jar has been opened, it should be consumed within a few weeks to maintain freshness.
Why did my jelly not set? A jelly that fails to set is usually due to a lack of pectin or insufficient boiling time. You can try re-boiling the mixture with a little more lemon juice, or you can use the liquid as a delicious fruit syrup for desserts.
Can I reduce the amount of sugar? Sugar is vital for the preservation and the "set" of the jelly. While you can reduce it slightly, decreasing it too much may result in a liquid consistency and a significantly shorter shelf life.
Leave a Reply